How to Deploy ProjectSend r1070 in Docker Swarm Behind Traefik v2.0
ProjectSend is a free, secure, and user-friendly file-sharing software. Learn how to self-host this client-oriented tool in a Docker Swarm cluster.

ProjectSend is a free, secure, and user-friendly file-sharing software. It is an excellent open-source solution for businesses that need to share files securely with clients.
In this post, I will show you how to deploy ProjectSend r1070 to our Docker Swarm Cluster using Docker Compose, sitting securely behind a Traefik v2.0 reverse proxy.
Learn more by visiting the official ProjectSend website and their GitHub repository.
Prerequisites
Please ensure you fulfill the following requirements before proceeding with the deployment:
- A Docker Swarm Cluster configured with GlusterFS for persistent storage.
- Traefik v2.0 deployed as the ingress reverse proxy to expose microservices externally.
- A running MariaDB database stack to host the application databases.
Introduction to ProjectSend
If you are looking to share files with your clients with a strong focus on ease of use and privacy, ProjectSend is the best open-source software for the job. It’s easy to navigate, and you can self-host or deploy it securely in your own environment.
ProjectSend is a client-oriented, private file-sharing web application.
It supports client groups, system user roles, upload statistics, multiple languages, detailed audit logs, and much more!
Why Choose ProjectSend?
ProjectSend is a self-hosted application that lets you upload files and assign them to specific clients that you create yourself.
Secure, private, and easy. No more depending on external third-party services or email attachments to send sensitive files!
Clients are created and assigned a username and password. Uploaded files can be assigned to specific clients or entire client groups.
Other powerful features include:
- Auto-expiration of uploads.
- Email notifications.
- Full logging of actions by users and clients.
- The option to allow clients to upload their own files.
- Theming and multi-language support.
ProjectSend is written in PHP and uses a MySQL/MariaDB database to store its information.
Persisting ProjectSend Data with GlusterFS
Containers are fast to deploy and make efficient use of system resources. However, their filesystems are ephemeral. If a container restarts, local data is lost.
To ensure our uploaded files and configurations survive restarts, we will use GlusterFS. I previously set up a replicated GlusterFS volume to ensure data is mirrored across all nodes in the cluster.
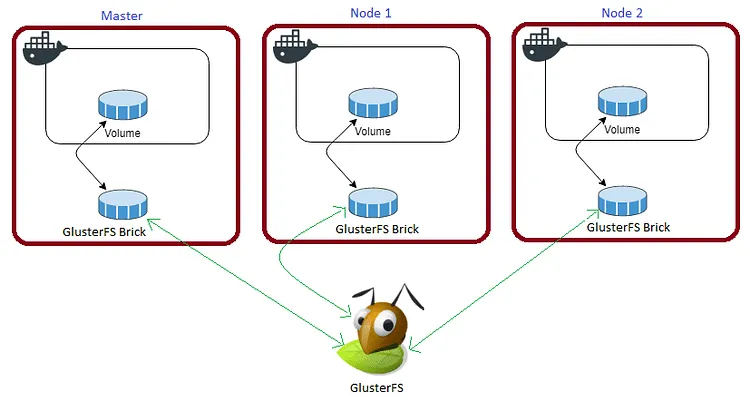
The volume is mounted across all nodes. When data is written to the
/mntpartition, it is instantly replicated to the other nodes.
If any node fails, the application automatically restarts on another node without losing data. This is the primary advantage of a replicated volume.
For disaster recovery, we need to persist the /data and /config directories of the ProjectSend container.
Create the required persistent folders in the /mnt directory:
cd /mnt
sudo mkdir -p projectsenddata
sudo mkdir -p projectsendconfig
Watch the video below for a complete guide on setting up a GlusterFS Replicated Volume.
Prepare the Deployment Environment
We will use Docker Compose to define the deployment environment.
Navigate to the /opt directory on your Swarm manager node and create the configuration directory for ProjectSend:
cd /opt
sudo mkdir -p projectsend
cd projectsend
sudo touch projectsend.yml
ProjectSend Docker Compose Configuration
Open projectsend.yml using your editor:
sudo nano projectsend.ymlPaste the following Docker Compose configuration. I am using the db MariaDB service that was deployed earlier as the backend storage system for ProjectSend. I am also utilizing the excellent LinuxServer.io Docker Image.
version: "3.7"

services:
  projectsend:
    image: linuxserver/projectsend:latest
    depends_on:
      - db
    ports:
      - '8081:80'
    volumes:
      - /mnt/projectsenddata:/data
      - /mnt/projectsendconfig:/config
    secrets:
      - mysql_root_password
    environment:
      - DB_DRIVER=mysql
      - DB_HOST=db:3306
      - DB_NAME=projectsend
      - DB_USER=root
      - DB_PASSWORD_FILE=/run/secrets/mysql_root_password
      - TABLES_PREFIX=pst_
      - SITE_LANG=English
      - MAX_FILESIZE=2048
    networks:
      - proxy
    deploy:
      placement:
        constraints: [node.role == worker]
      replicas: 1
      update_config:
        parallelism: 2
        delay: 10s
      restart_policy:
        condition: on-failure
      labels:
        - "traefik.enable=true"
        - "traefik.docker.network=proxy"
        - "traefik.http.routers.projectsend.rule=Host(`ps.example.com`)"
        - "traefik.http.routers.projectsend.tls=true"
        - "traefik.http.routers.projectsend.tls.certresolver=default"
        - "traefik.http.routers.projectsend.entrypoints=websecure"
        - "traefik.http.services.projectsend.loadbalancer.server.port=80"

secrets:
  mysql_root_password:
    external: true

volumes:
  projectsenddata:
    driver: "local"
  projectsendconfig:
    driver: "local"

networks:
  proxy:
    external: true
Deploy ProjectSend to Docker Swarm
Ensure you have created the projectsend database inside your MariaDB instance before deploying this stack!
Deploy the stack to your Swarm using the following command:
docker stack deploy --compose-file projectsend.yml projectsendIn Docker Swarm, whatever you deploy via compose is called a “stack,” and it contains multiple “services.”
Check the status of the deployment to ensure it scheduled properly:
docker stack ps projectsendAccess and Configure ProjectSend
Open your browser and navigate to ps.example.com (ensure you replace example.com with your actual domain). Traefik will automatically route the traffic and secure the connection with Let’s Encrypt.
Ensure you have configured a DNS A-Record or CNAME pointing ps.example.com to your Swarm ingress load balancer.
You will be greeted with the Configuration screen. You must modify the ProjectSend URI to replace http:// with https:// (e.g., https://ps.example.com) since we are using Traefik for automatic SSL generation.
Complete the setup by creating an admin account.
Reference Images from the Deployment:
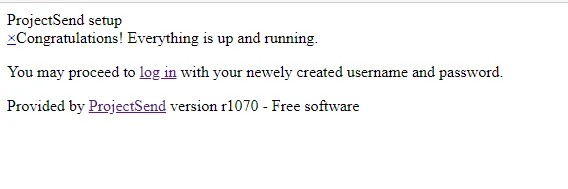
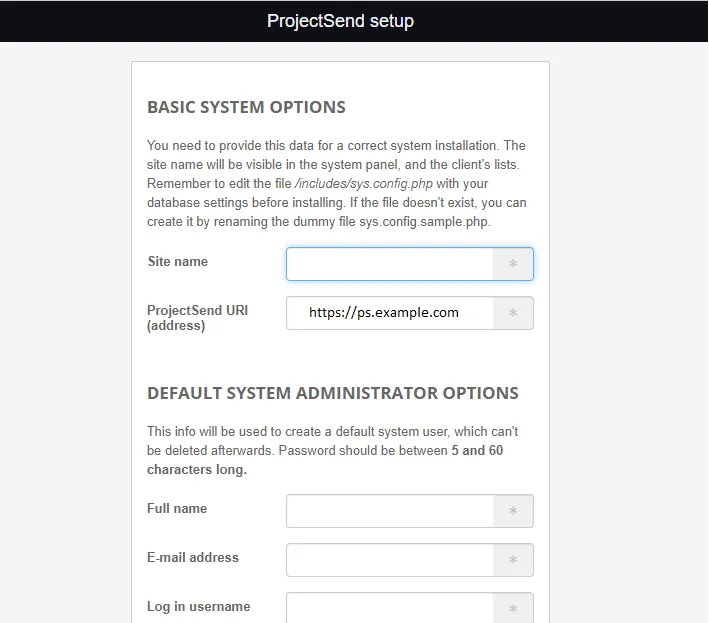
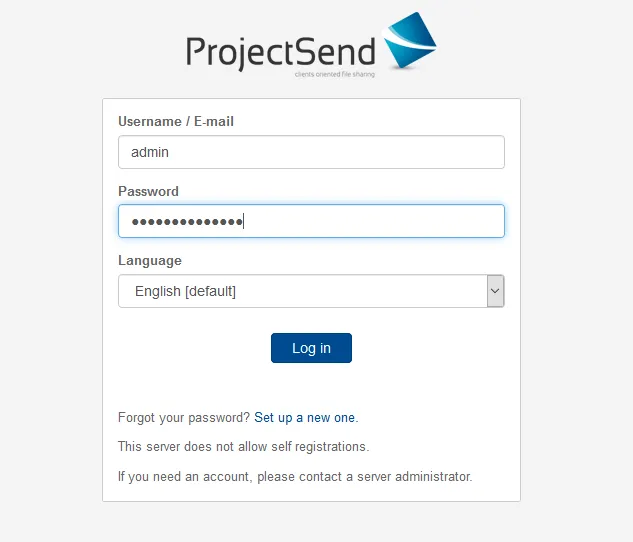
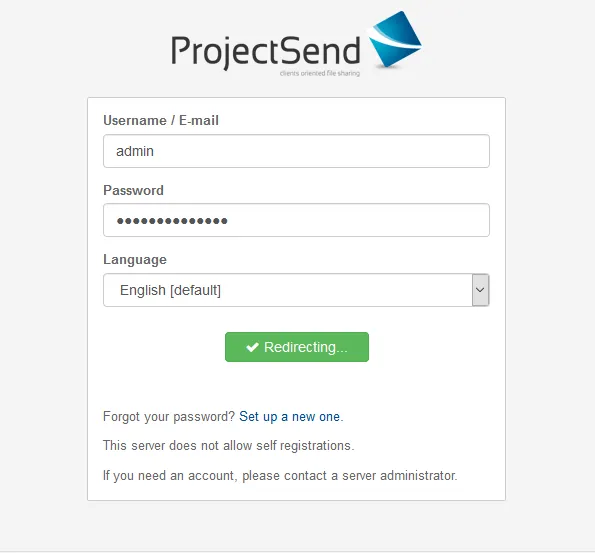
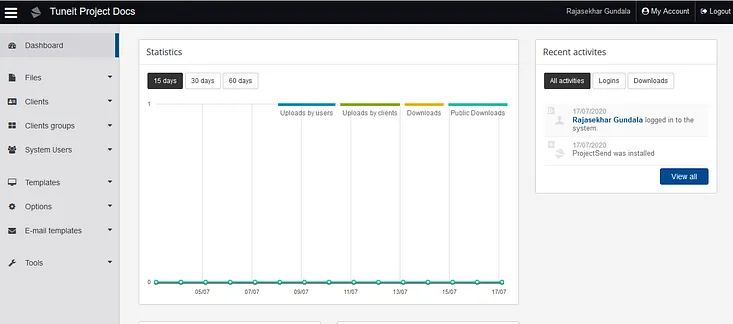
We have successfully deployed a secure, highly available ProjectSend instance to securely share files with clients!
Stay tuned for more application deployments in upcoming posts!

Continue reading

How to Deploy Nextcloud 18.0.1 in Docker Swarm Behind Traefik v2.0
Nextcloud is an industry-leading, open-source, on-premises collaboration platform. Learn how to deploy a secure, self-hosted cloud storage solution in a Docker Swarm cluster.

How to Deploy Wekan 3.71 – Open Source Kanban Tool in Docker Swarm Behind Traefik v2.0
Wekan is an open-source kanban board that allows for card-based task and to-do management. Learn how to self-host it in a Docker Swarm cluster.

How to Deploy Rocket.Chat 6.2.6 in Docker Swarm Behind Traefik v2.0
Rocket.Chat is a highly customizable, open-source team collaboration platform designed to replace Slack and Microsoft Teams. Learn how to self-host it in a Docker Swarm cluster.