How to Self-Host Stalwart Mail Server Using Docker Compose Behind Caddy v2.8.4
Stalwart is an open-source mail server solution with JMAP, IMAP4, POP3 & SMTP support. It is written in Rust and aims to be secure, fast, robust, and scalable.
Stalwart is an open-source mail server solution packed with modern features and full support for JMAP, IMAP4, POP3, and SMTP. Written in Rust, it aims to be secure, fast, robust, and massively scalable.
Today, I am going to show you how to deploy the Stalwart mail server using Docker Compose behind a Caddy reverse proxy.
Let’s start with the actual deployment.
Prerequisites
Please ensure you fulfill the following requirements before proceeding with the deployment:
- A server running the latest Ubuntu release (any Linux distribution works, but Ubuntu is used throughout this guide).
- Docker and Docker Compose installed on the server.
Introduction to Stalwart Mail Server
Stalwart redefines the email server landscape. Traditionally, operating a mail server required piecing together multiple disparate components—such as an MTA, message store, and spam filter—each developed over 20 years ago with entirely different configuration formats.
Stalwart streamlines this entire process into a single, efficient binary with a unified configuration. Furthermore, it is crafted in Rust, a language celebrated for its memory safety, ensuring a highly robust and secure email infrastructure.
Secure & Modern All-in-One Mail Server (IMAP, JMAP, POP3, SMTP).
Core Features
Stalwart provides an integrated email infrastructure for secure and efficient messaging. It has the following key features:
JMAP Server
- JMAP Core and JMAP Mail full compliance.
- JMAP for Sieve Scripts extension for managing Sieve scripts.
- JMAP for WebSocket, JMAP Blob Management, and JMAP for Quotas extensions.
IMAP4, POP3 and ManageSieve Server
- IMAP4rev2 and IMAP4rev1 server with support for numerous extensions.
- POP3 server with extensions, STLS, and SASL support.
- ManageSieve server for managing Sieve scripts over the network.
SMTP Server
- Built-in DMARC, DKIM, SPF, and ARC support for message authentication.
- Strong transport security through DANE, MTA-STS, and SMTP TLS reporting.
- Inbound throttling and filtering with granular configuration rules, sieve scripting, MTA hooks, and milter integration.
- Distributed virtual queues with delayed delivery, priority delivery, quotas, routing rules, and throttling support.
- Envelope rewriting and message modification.
Spam & Phishing Filter
- Comprehensive set of filtering rules on par with popular enterprise solutions.
- Statistical spam classifier with automatic training capabilities.
- DNS Blocklists (DNSBLs) checking of IP addresses, domains, and hashes.
- Collaborative digest-based spam filtering with Pyzor.
- Phishing protection against homographic URL attacks, sender spoofing, and other techniques.
- Trusted reply tracking to recognize and prioritize genuine e-mail replies.
- Sender reputation monitoring by IP address, ASN, domain, and email address.
- Greylisting to temporarily defer unknown senders.
- Spam traps to set up decoy email addresses that catch and analyze spam.
Flexible and Scalable
- Pluggable storage backends with RocksDB, FoundationDB, PostgreSQL, MySQL, SQLite, S3-Compatible, Redis, and ElasticSearch support.
- Clustering support with node autodiscovery and partition-tolerant failure detection.
- Built-in LDAP or SQL authentication backend support.
- Full-text search available in 17 languages.
- Sieve scripting language with support for all registered extensions.
- Email aliases, mailing lists, subaddressing, and catch-all addresses support.
- Automatic account configuration and discovery with autoconfig and autodiscover.
- Integration with OpenTelemetry to enable monitoring, tracing, and performance analysis.
- Webhooks for event-driven automation.
- Disk quotas.
Web-based Administration
- Account, domain, group, and mailing list management.
- SMTP queue management for messages and outbound DMARC and TLS reports.
- Report visualization interface for received DMARC, TLS-RPT, and Failure (ARF) reports.
- Configuration of every aspect of the mail server.
- Log viewer with search and filtering capabilities.
- Self-service portal for password resets and encryption-at-rest key management.
Secure and Robust
- Encryption at rest with S/MIME or OpenPGP.
- Automatic TLS certificate provisioning with ACME using TLS-ALPN-01, DNS-01, or HTTP-01 challenges.
- OAuth 2.0 authorization code and device authorization flows.
- Two-factor authentication with Time-based One-Time Passwords (TOTP).
- Application passwords (App Passwords) for legacy clients.
- Automated blocking of hosts that cause multiple authentication errors.
- Access Control Lists (ACLs).
- Security audited and fundamentally memory safe.
Prepare the Deployment Environment
Step 1: Verify Port 25 is Open
Your ISP or hosting provider won’t block incoming connections to port 25, meaning you can receive emails from other servers. However, many providers aggressively block outgoing connections to port 25 to prevent spam, which means you can’t send emails.
Run the following command on your server to check if outbound port 25 is blocked:
telnet gmail-smtp-in.l.google.com 25If the port is open, you will see a message similar to the one below, indicating a connection was successfully established:
Trying your-server-ip-address...
Connected to gmail-smtp-in.l.google.com.
Escape character is '^]'.
220 mx.google.com ESMTP 7fbef4ecsi44cewcfewdfew.135 - gsmtp
Type quit and press Enter to close the connection. If the connection times out, you must contact your hosting provider to unblock port 25 before proceeding.
Step 2: Create Persistent Directories
Let’s create a local folder named stalwart to persist the container’s data for disaster recovery.
cd /opt
sudo mkdir -p stalwart
Caddyfile Configuration
The Caddyfile is an incredibly convenient and expressive configuration format for the Caddy web server. Here is the production-ready Caddyfile required to expose the Stalwart Web Administration interface securely.
Learn more about writing Caddyfiles here.
cd /opt
sudo touch Caddyfile
sudo nano Caddyfile
Paste the following code into your Caddyfile:
{
    email you@example.com
    default_sni stalwart
    cert_issuer acme
    acme_ca [https://acme-v02.api.letsencrypt.org/directory](https://acme-v02.api.letsencrypt.org/directory)

    servers {
        metrics
        protocols h1 h2c h3
        strict_sni_host on
        trusted_proxies cloudflare {
            interval 12h
            timeout 15s
        }
    }
    admin 0.0.0.0:2019
}

mail.example.com {
    log {
        output file /var/log/caddy/stalwart.log {
            roll_size 20mb
            roll_keep 2
            roll_keep_for 6h
        }
        format console
        level error
    }

    reverse_proxy stalwart:8080 {
        transport http {
            keepalive 300s
        }
    }
}
If you want more insight into deploying Caddy, check out my previous post on Caddy.
Docker Compose Configuration
Now it’s time to create the docker-compose.yml file that contains both the Caddy Reverse Proxy service and the Stalwart service.
First, create a Docker network named caddy. We will use this to securely connect the proxy to the application container.
docker network create caddyNext, create the compose file:
cd /opt
sudo touch docker-compose.yml
sudo nano docker-compose.yml
Paste the following stack configuration:
version: "3.7"

services:
  caddy:
    image: rajaseg/caddy
    restart: unless-stopped
    container_name: caddy
    ports:
      - "80:80"
      - "443:443"
      - "2019:2019"
    networks:
      - caddy
    volumes:
      - ./Caddyfile:/etc/caddy/Caddyfile
      - ./caddydata:/data
      - ./caddyconfig:/config
      - ./caddylogs:/var/log/caddy

  stalwart:
    image: stalwartlabs/mail-server:latest
    container_name: stalwart
    restart: unless-stopped
    depends_on:
      caddy:
        condition: service_started
    volumes:
      - ./stalwart:/opt/stalwart-mail
    ports:
      - "4190:4190"
      - "993:993"
      - "143:143"
      - "465:465"
      - "587:587"
      - "25:25"
      - "8443:443"
    networks:
      - caddy
    stdin_open: true
    tty: true

volumes:
  caddydata:
  caddyconfig:
  caddylogs:
  stalwart:

networks:
  caddy:
    external: true
Understanding the Configuration Options
depends_on: Expresses startup dependencies between services. In the configuration above, Compose guarantees thatcaddyis fully started beforestalwartboots up.restart: unless-stopped: Configures how containers behave when they crash or the host reboots. This ensures your mail server always comes back online automatically unless explicitly stopped by you.
Deploy the Docker Compose Stack
Deploy your stack using the following command:
docker compose up -dWatch the video below to see a walkthrough of deploying the Stalwart Mail Server using Docker Compose.
Log in to the Stalwart Web Interface
During its first boot, Stalwart automatically generates an administrator account and password. To obtain these details, you need to check the container logs.
You can type docker ps and press Enter to list the CONTAINER ID of your running services.
Fetch the auto-generated credentials using the following command:
docker logs stalwartYou should see output near the top of the logs that looks like this:
✅ Configuration file written to /opt/stalwart-mail/etc/config.toml
🔑 Your administrator account is 'admin' with password 'password'.
With this information, you can open your browser and log in to the web interface at https://mail.example.com.
Ensure you have configured a DNS A-Record or CNAME pointing mail.example.com to your server.
Reference Images from the Deployment:
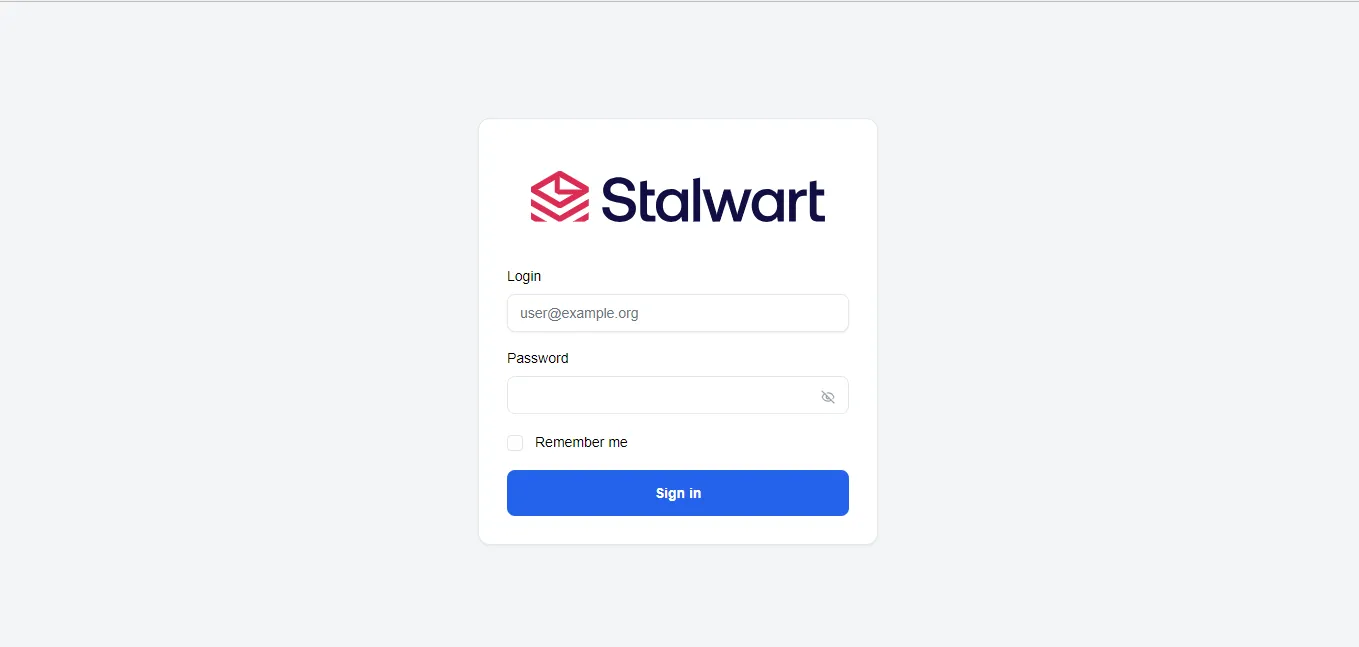
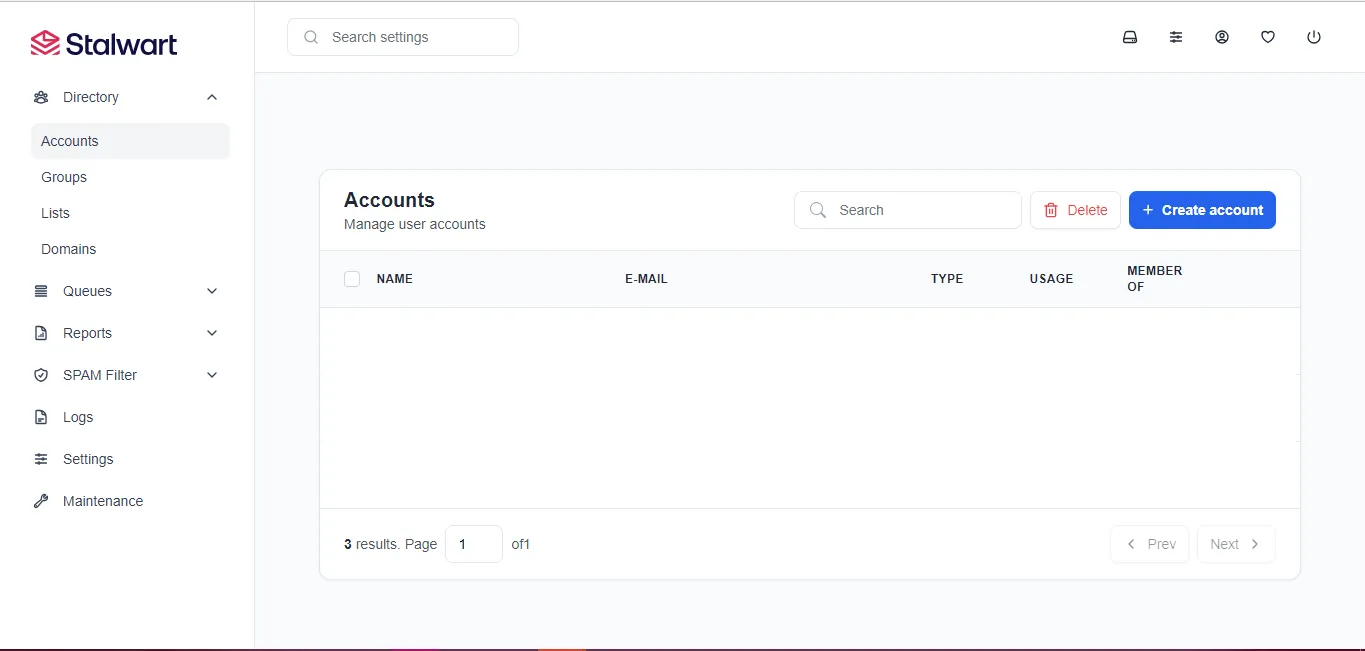
I hope you enjoyed this post and found the process of deploying a modern, Rust-based mail server straightforward! Please share your thoughts or feedback in the comments.
Stay tuned for more application deployments! 🙂

Continue reading

How to Deploy Authelia Using Docker Compose Behind Caddy
Authelia is an open-source authentication and authorization server providing two-factor authentication and single sign-on (SSO) for applications via a web portal.
How to Deploy Elasticsearch 8.8.0 in Docker Swarm Behind Caddy v2.6.4
Elasticsearch is a distributed, RESTful search and analytics engine. Learn how to deploy Elasticsearch and Kibana in a Docker Swarm cluster with persistent storage.

How to Deploy Mattermost in Docker Swarm Behind Caddy v2.4.5
Mattermost is the leading open-source collaboration platform written in Golang and React. Learn how to deploy it in a Docker Swarm cluster using Caddy as a reverse proxy.