How to Deploy Elasticsearch 8.8.0 in Docker Swarm Behind Caddy v2.6.4
Elasticsearch is a distributed, RESTful search and analytics engine. Learn how to deploy Elasticsearch and Kibana in a Docker Swarm cluster with persistent storage.

Elasticsearch is a free and open-source, distributed, RESTful search and analytics engine written in Java. It is widely used as a robust search backend and as a centralized data store for managing logs, metrics, and application traces.
In this post, I am going to show you how to deploy Elasticsearch 8.8.0 along with Kibana in a Docker Swarm Cluster using Docker Compose, sitting securely behind a Caddy v2.6.4 reverse proxy.
If you want to learn more about Elasticsearch, please review the links below:
Let’s dive into the deployment.
Prerequisites
Please ensure you fulfill the following requirements before proceeding with the deployment:
- A Docker Swarm Cluster configured with GlusterFS for persistent storage.
- Caddy deployed as an ingress reverse proxy to expose microservices externally.
Introduction to Elasticsearch
Elasticsearch is the heart of the Elastic Stack. It securely stores your data for lightning-fast search, fine-tuned relevancy, and powerful analytics that scale seamlessly.
To explore its extensive capabilities in depth, visit the official Elasticsearch features page.
Persisting Elasticsearch Data with GlusterFS
Containers are incredibly fast to deploy and make efficient use of system resources. They provide application portability for developers and standardized deployment units for operations teams.
However, a common misconception is that containers are strictly ephemeral—meaning if a container restarts, all local data is lost. While true by default, we can absolutely containerize stateful applications by mapping persistent storage volumes.
To overcome ephemeral data loss, I use GlusterFS.
I previously set up a replicated GlusterFS volume to ensure data is mirrored across all nodes in the cluster.
Here is a diagram explaining how the replicated volume works:
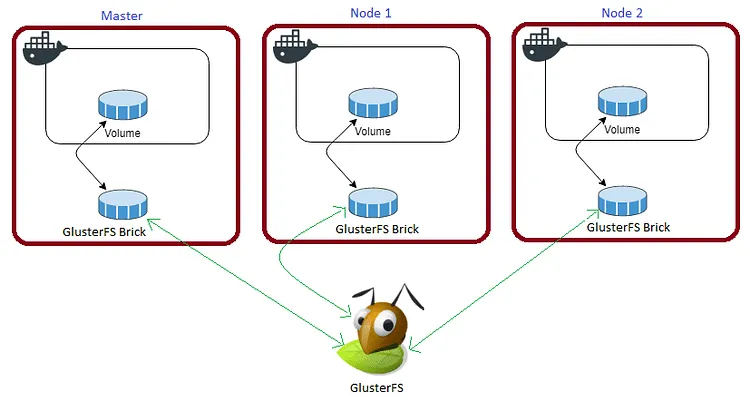
The volume is mounted across all nodes. When data is written to the
/mntpartition, it is instantly replicated to the other nodes in the cluster.
If any node fails, the application automatically restarts on another node without losing any data. This is the primary advantage of a replicated volume.
Elasticsearch must remain highly available even if a node in our Docker Swarm cluster goes offline. By mapping our container volumes to the GlusterFS mount, our search indices and Kibana dashboards survive restarts and host outages.
Create the necessary directories (config, elasticsearch, and kibana) in the /mnt directory:
cd /mnt
sudo mkdir -p config
sudo mkdir -p elasticsearch
sudo mkdir -p kibana
Watch the video below for a complete guide on setting up a GlusterFS Replicated Volume.
Prepare the Deployment Environment
We will use Docker Compose to define the environment and deploy the stack.
I keep all application configurations in the /opt directory on the Swarm manager node. We will also attach Elasticsearch to the caddy overlay network created in a previous tutorial.
Navigate to /opt and create the configuration directory for Elasticsearch:
cd /opt
sudo mkdir -p elastic
cd elastic
sudo touch elastic.yml
Elasticsearch and Kibana Docker Compose Configuration
Open elastic.yml using your editor:
sudo nano elastic.ymlPaste the following Docker Compose configuration. This defines both the Elasticsearch engine and the Kibana visualization dashboard.
version: '3.7'

services:
  elasticsearch:
    image: docker.elastic.co/elasticsearch/elasticsearch:8.8.0
    volumes:
      - /mnt/config/elasticsearch.yml:/usr/share/elasticsearch/config/elasticsearch.yml
      - /mnt/elasticsearch:/usr/share/elasticsearch/data
    ports:
      - "9200:9200"
      - "9300:9300"
    environment:
      - "node.name=es-node"
      - "discovery.type=single-node"
      - "bootstrap.memory_lock=true"
      - "ELASTIC_PASSWORD=secret-password"
      - "http.port=9200"
      - "ES_JAVA_OPTS=-Xms512m -Xmx512m"
    networks:
      - caddy
    ulimits:
      memlock:
        soft: -1
        hard: -1
    deploy:
      placement:
        constraints: [node.role == worker]
      replicas: 1
      update_config:
        parallelism: 2
        delay: 10s
      restart_policy:
        condition: on-failure

  kibana:
    image: docker.elastic.co/kibana/kibana:8.8.0
    depends_on:
      - elasticsearch
    volumes:
      - /mnt/config/kibana.yml:/usr/share/kibana/config/kibana.yml
      - /mnt/kibana:/usr/share/elasticsearch/data
    ports:
      - "5601:5601"
    environment:
      - KIBANA_SYSTEM_PASSWORD=secret-password
    networks:
      - caddy
    deploy:
      placement:
        constraints: [node.role == worker]
      replicas: 1
      update_config:
        parallelism: 2
        delay: 10s
      restart_policy:
        condition: on-failure

volumes:
  config:
    driver: "local"
  elasticsearch:
    driver: "local"
  kibana:
    driver: "local"

networks:
  caddy:
    external: true
Caddyfile Configuration
The Caddyfile is a highly readable configuration format for the Caddy web server.
Caddyfile is easy to write, easy to understand, and expressive enough for almost all use cases.
Here is the production-ready Caddyfile block required to expose both Elasticsearch and Kibana securely. Learn more about writing Caddyfiles here.
{
    email you@example.com
    cert_issuer acme
    acme_ca [https://acme-v02.api.letsencrypt.org/directory](https://acme-v02.api.letsencrypt.org/directory)

    servers {
        metrics
        protocols h1 h2c h3
        strict_sni_host on
        trusted_proxies cloudflare {
            interval 12h
            timeout 15s
        }
    }
}

elasticsearch.example.com {
    log {
        output file /var/log/caddy/elasticsearch.log {
            roll_size 20mb
            roll_keep 2
            roll_keep_for 6h
        }
        format console
        level error
    }
    encode gzip zstd
    reverse_proxy elasticsearch:9200
}

kibana.example.com {
    log {
        output file /var/log/caddy/kibana.log {
            roll_size 20mb
            roll_keep 2
            roll_keep_for 6h
        }
        format console
        level error
    }
    encode gzip zstd
    reverse_proxy kibana:5601
}
If you want more insight into deploying Caddy in a Docker Swarm cluster, check out my previous post on Caddy.
Full Stack Deployment (Combined)
If you prefer to deploy Caddy, Elasticsearch, and Kibana together in a single stack, here is the combined docker-compose.yml file.
version: "3.7"

services:
  caddy:
    image: tuneitme/caddy
    ports:
      - target: 80
        published: 80
        mode: host
      - target: 443
        published: 443
        mode: host
      - target: 443
        published: 443
        mode: host
        protocol: udp
    networks:
      - caddy
    volumes:
      - ./Caddyfile:/etc/caddy/Caddyfile
      - /mnt/caddydata:/data
      - /mnt/caddyconfig:/config
      - /mnt/caddylogs:/var/log/caddy
    deploy:
      placement:
        constraints:
          - node.role == manager
      replicas: 1
      update_config:
        parallelism: 2
        delay: 10s
      restart_policy:
        condition: on-failure

  elasticsearch:
    image: docker.elastic.co/elasticsearch/elasticsearch:8.8.0
    volumes:
      - /mnt/config/elasticsearch.yml:/usr/share/elasticsearch/config/elasticsearch.yml
      - /mnt/elasticsearch:/usr/share/elasticsearch/data
    ports:
      - "9200:9200"
      - "9300:9300"
    environment:
      - "node.name=es-node"
      - "discovery.type=single-node"
      - "bootstrap.memory_lock=true"
      - "ELASTIC_PASSWORD=secret-password"
      - "http.port=9200"
      - "ES_JAVA_OPTS=-Xms512m -Xmx512m"
    networks:
      - caddy
    ulimits:
      memlock:
        soft: -1
        hard: -1
    deploy:
      placement:
        constraints: [node.role == worker]
      replicas: 1
      update_config:
        parallelism: 2
        delay: 10s
      restart_policy:
        condition: on-failure

  kibana:
    image: docker.elastic.co/kibana/kibana:8.8.0
    depends_on:
      - elasticsearch
    volumes:
      - /mnt/config/kibana.yml:/usr/share/kibana/config/kibana.yml
      - /mnt/kibana:/usr/share/elasticsearch/data
    ports:
      - "5601:5601"
    environment:
      - KIBANA_SYSTEM_PASSWORD=secret-password
    networks:
      - caddy
    deploy:
      placement:
        constraints: [node.role == worker]
      replicas: 1
      update_config:
        parallelism: 2
        delay: 10s
      restart_policy:
        condition: on-failure

volumes:
  caddydata:
    driver: "local"
  caddyconfig:
    driver: "local"
  caddylogs:
    driver: "local"
  config:
    driver: "local"
  elasticsearch:
    driver: "local"
  kibana:
    driver: "local"

networks:
  caddy:
    external: true
I used a custom Caddy Docker container with specific plugins (like Cloudflare DNS). You can find the image here: Tuneit Caddy Docker Image
Deploy the Elasticsearch Stack
Deploy the stack to your Swarm using the following command:
docker stack deploy --compose-file elastic.yml elasticIn Docker Swarm, whatever you deploy via compose is called a “stack,” and it contains multiple “services” as defined in your file.
Check the status of the deployment:
docker stack ps elasticInspect the logs to ensure successful startup:
docker service logs elastic_elasticsearch
docker service logs elastic_kibana
You will notice that Caddy automatically intercepts the traffic, redirects it to HTTPS, and provisions Let’s Encrypt certificates. The TLS configuration is stored safely in your /mnt/caddydata directory.
Accessing Elasticsearch and Kibana
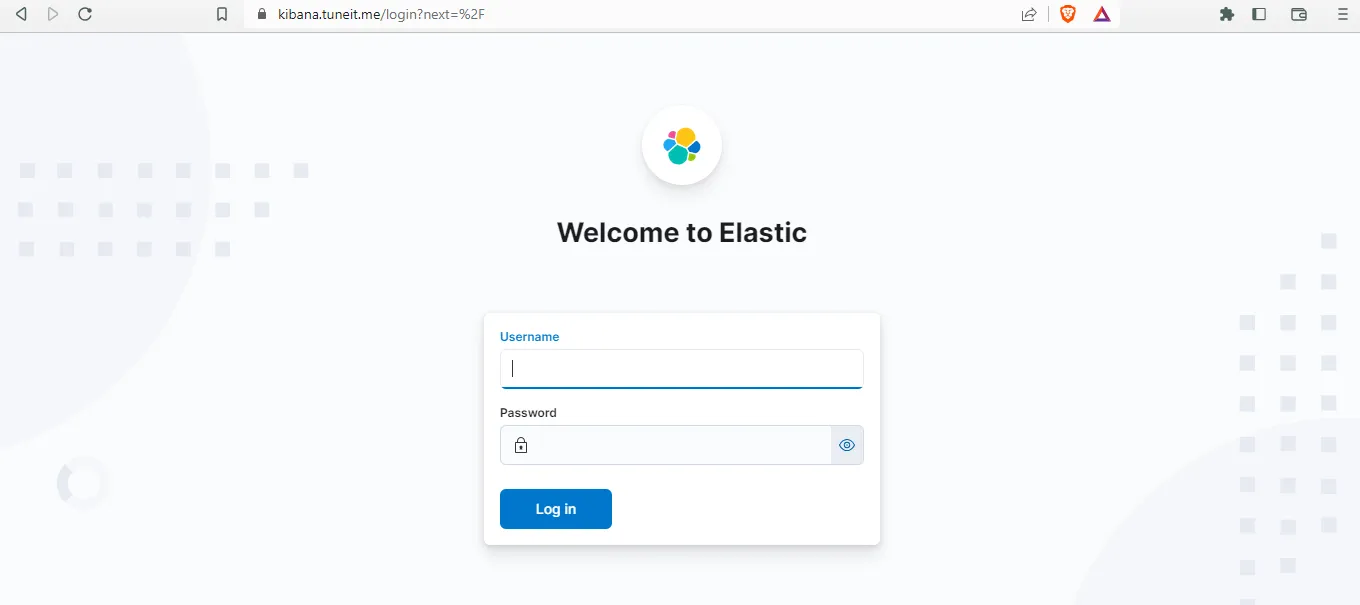
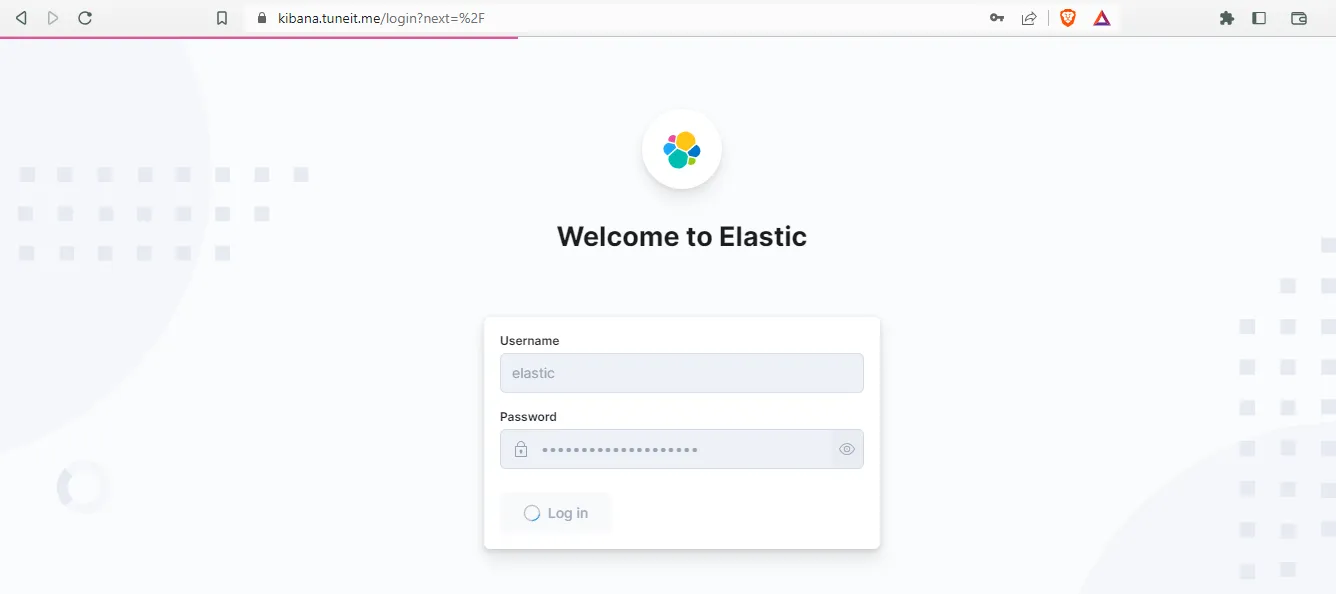
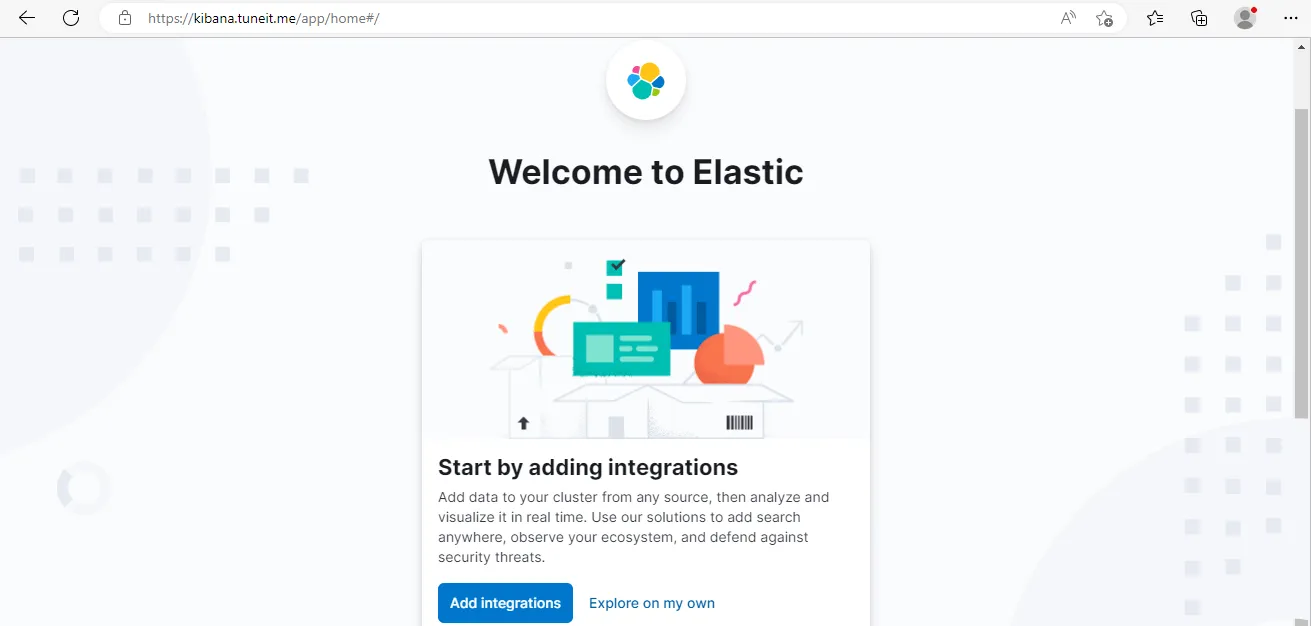
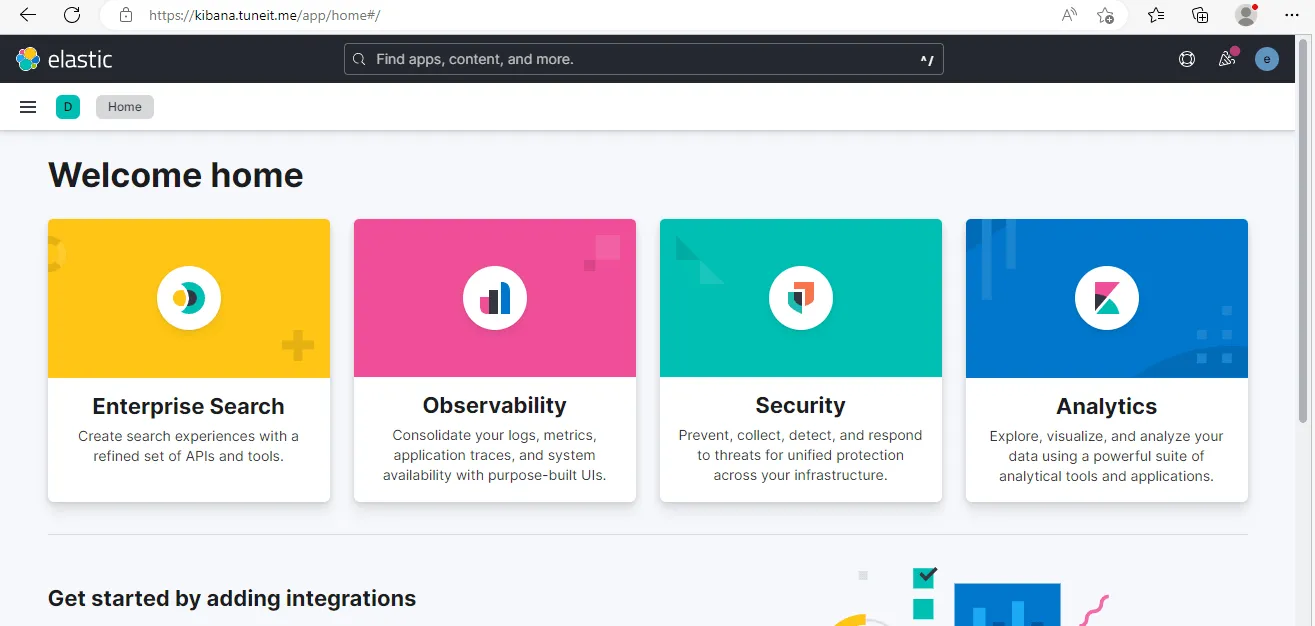
Open your browser and navigate to elasticsearch.example.com to access the Elasticsearch REST API. It will automatically redirect securely to https://elasticsearch.example.com.
Access Kibana by navigating to kibana.example.com.
Make sure you have created DNS A-Records or CNAMEs pointing elasticsearch.example.com and kibana.example.com to your Swarm ingress load balancer.
Reference Images from the Deployment:

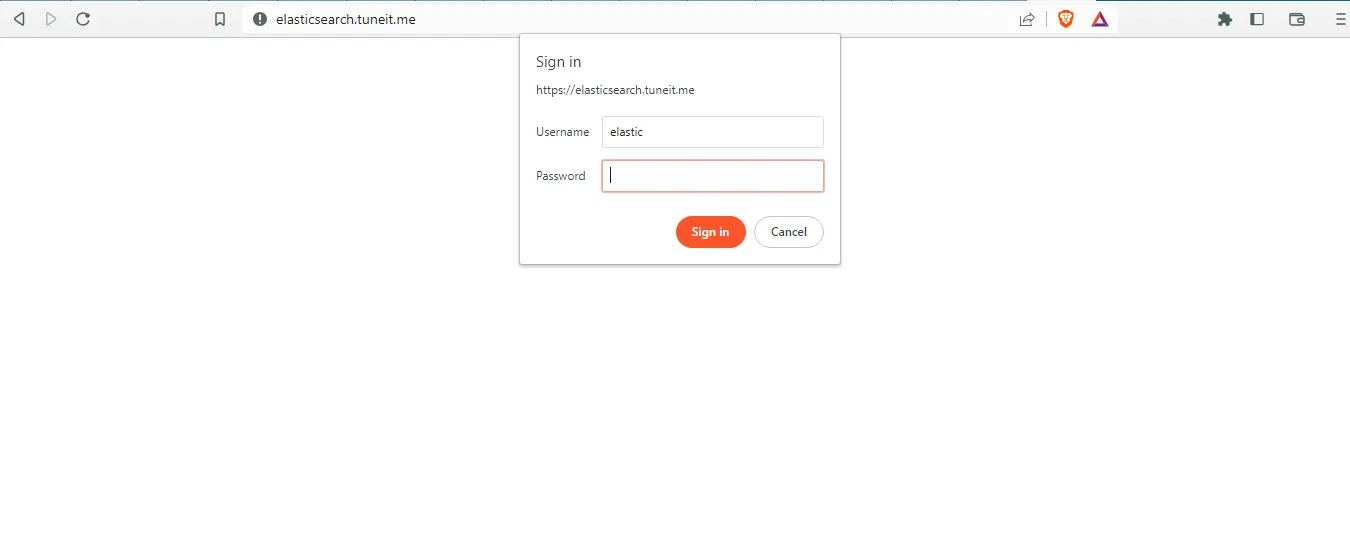
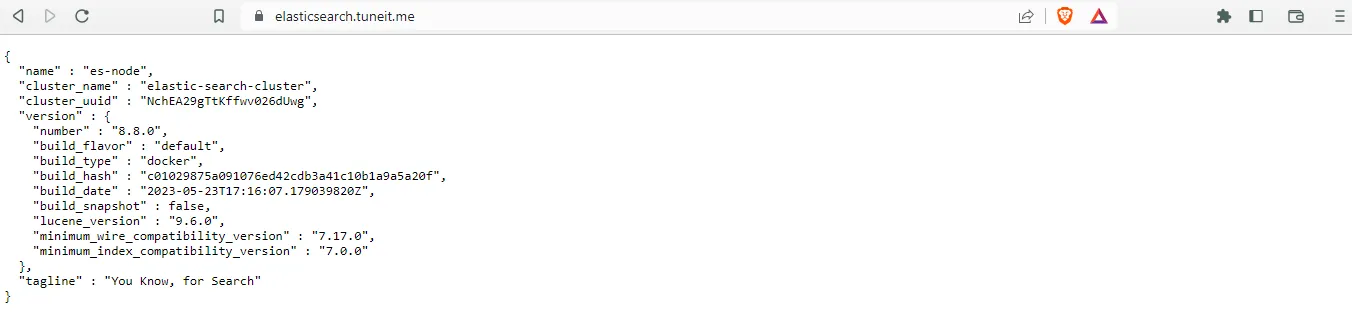
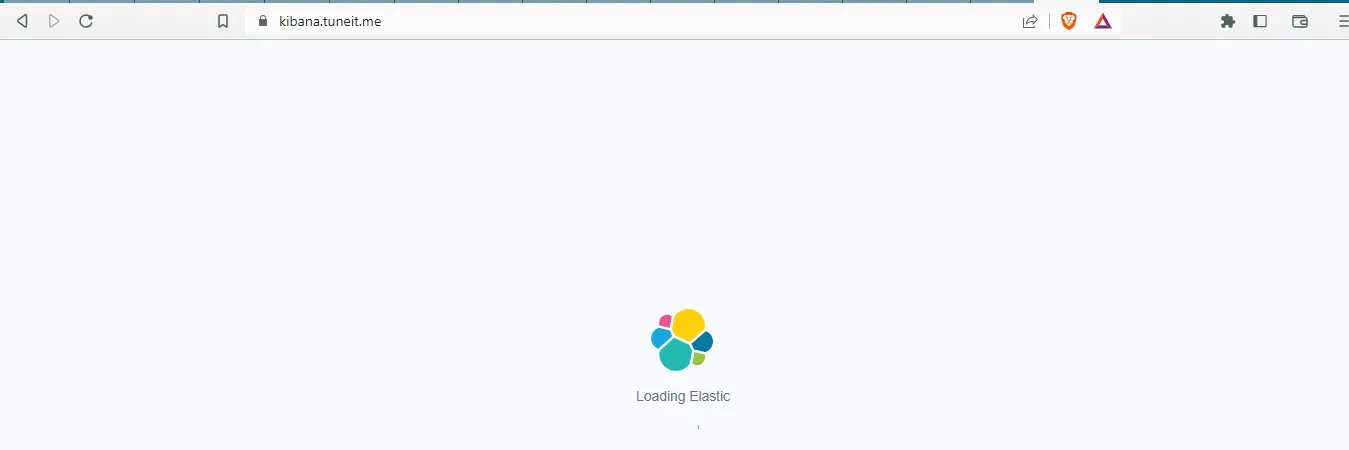
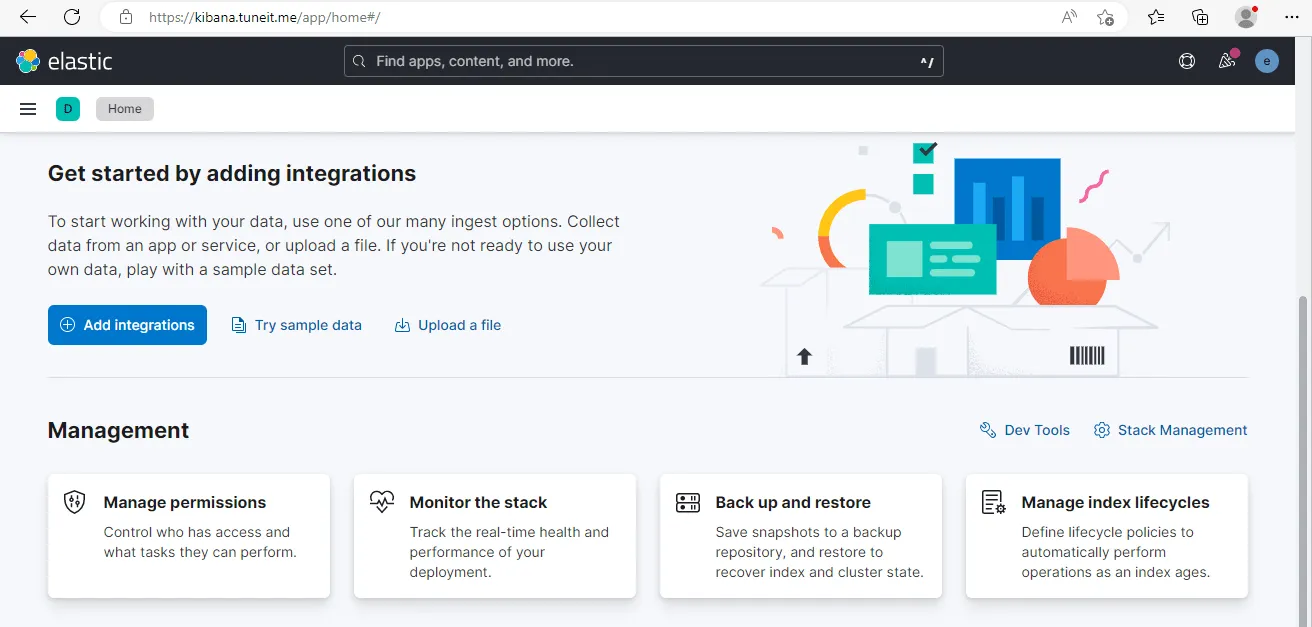
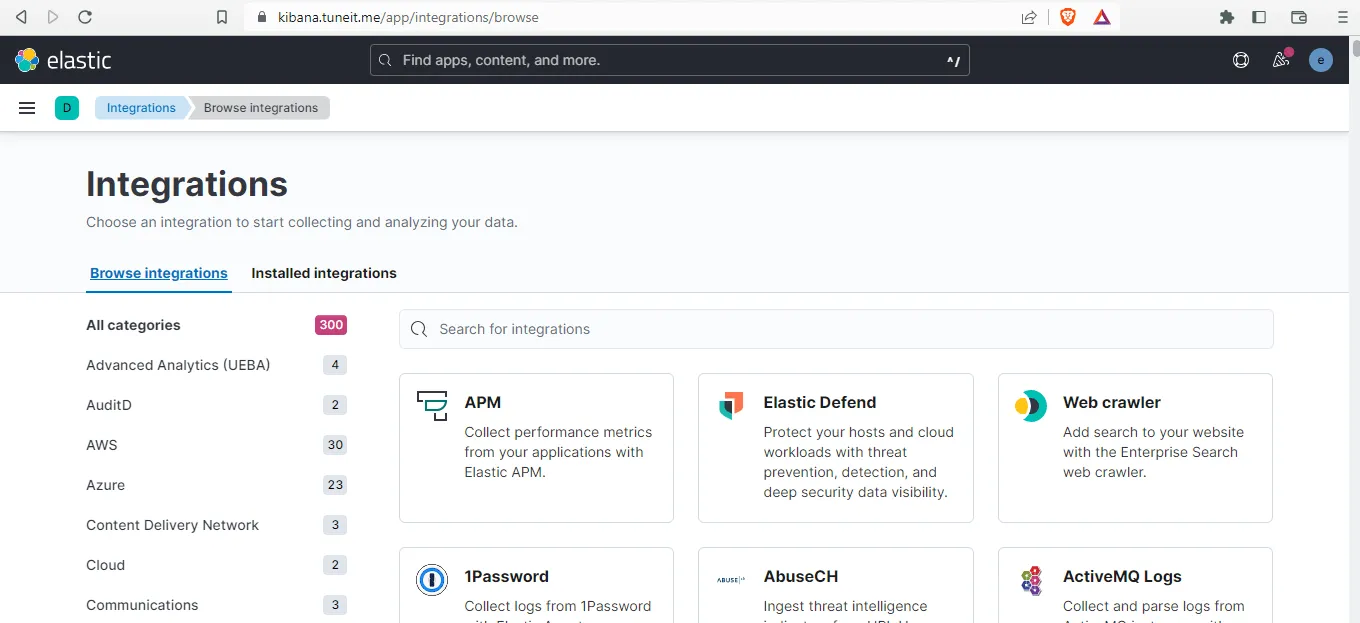
The deployment of Elasticsearch and Kibana behind Caddy in our Docker Swarm cluster is complete!
If you enjoyed this tutorial, please share your thoughts in the comments below. It helps me bring more self-hosted open-source content to the community.
Stay tuned for more deployment guides!

Continue reading

How to Deploy Authelia Using Docker Compose Behind Caddy
Authelia is an open-source authentication and authorization server providing two-factor authentication and single sign-on (SSO) for applications via a web portal.

How to Self-Host Stalwart Mail Server Using Docker Compose Behind Caddy v2.8.4
Stalwart is an open-source mail server solution with JMAP, IMAP4, POP3 & SMTP support. It is written in Rust and aims to be secure, fast, robust, and scalable.

How to Deploy Mattermost in Docker Swarm Behind Caddy v2.4.5
Mattermost is the leading open-source collaboration platform written in Golang and React. Learn how to deploy it in a Docker Swarm cluster using Caddy as a reverse proxy.