How to Setup Jekyll 4.2.0 Dev Environment on Windows 10
While Windows is not an officially supported platform for Jekyll, you can run it perfectly with the right tweaks. Learn how to set up a Jekyll dev environment using RubyInstaller.

Jekyll is a powerful, blog-aware static site generator. You give it text written in your favorite markup language, and it uses layouts to compile a complete static website.
In this post, I am going to show you how to set up a development environment for Jekyll 4.2.0 on Windows 10. Once developed, we can easily publish these static files behind a Caddy reverse proxy acting as a lightning-fast file server.
While Windows is not an officially supported platform for Jekyll, we can run it on Windows 10 with the proper tweaks. The easiest way to install Ruby and Jekyll is by using the RubyInstaller for Windows.
Written in Ruby by Tom Preston-Werner, GitHub’s co-founder, Jekyll is distributed under the open-source MIT license and is widely used for personal, project, and organization sites.
(If you are interested in hosting Jekyll in a containerized environment, please go through my previous post about Deploying Jekyll in Docker Swarm).
Let’s get started with the setup!
Prerequisites
Please ensure you fulfill the following requirements before proceeding:
Note: Windows Terminal is optional. You can also use the standard Command Prompt, PowerShell, or Git Bash to run your Jekyll commands.
Installing Jekyll on Windows
Because Windows is not officially supported natively, there are two primary methods to bypass this limitation:
- Installation via RubyInstaller (Native Windows)
- Installation via Windows Subsystem for Linux (WSL)
I find native operation to be much more comfortable for quick edits, so I will be installing Jekyll via RubyInstaller.
Installation via RubyInstaller
RubyInstaller is a self-contained, Windows-based installer that includes the Ruby language, an execution environment, important documentation, and a C-compiler toolchain.
As of writing this post, the recommended version is Ruby+Devkit 3.0.0 (x64).
- First, download and install the Ruby+Devkit version from RubyInstaller. Use the default options during the installation process.
- Run the
ridk installstep on the last stage of the installation wizard. This is essential for installing gems that require native C extensions. - Open a new command prompt window from the start menu (this ensures changes to the
PATHenvironment variable become effective). - Install Jekyll and Bundler using the following command:
gem install jekyll bundlerCheck if Jekyll has been installed properly by querying its version:
jekyll -vThat’s it! You are now ready to use Jekyll on Windows 10 to develop sites.
If you want to learn more about Jekyll installation options on Windows, please check out the Official Documentation.
Clone a Jekyll Theme from GitHub
Create a Jekyll directory on your file system (for example, in your Documents folder). You can find a wide variety of excellent Jekyll themes under the Themes section of the Jekyll Resources page.
For this tutorial, I will be using the Jasper Theme.
Open Windows Terminal, navigate to your new Jekyll directory, and clone the Jasper repository from GitHub:
git clone [https://github.com/jekyller/jasper.git](https://github.com/jekyller/jasper.git)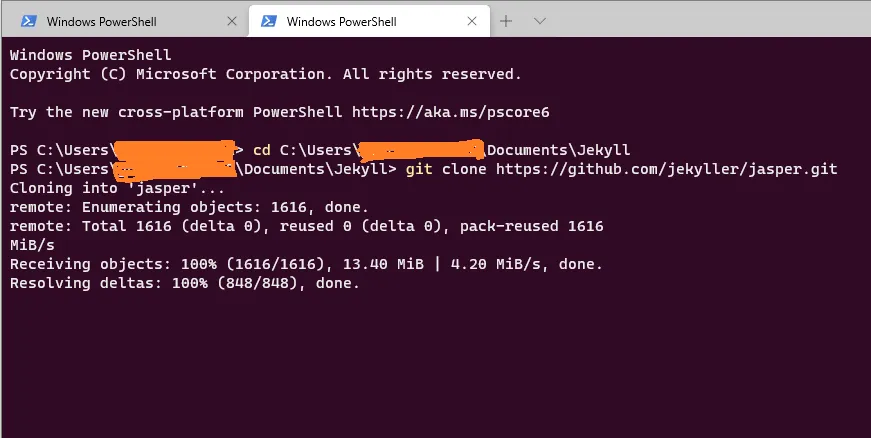
Bundle the Site
Navigate into your newly cloned theme folder and install the required Ruby dependencies.
cd jasper
bundle install
(You can also simply run bundle).
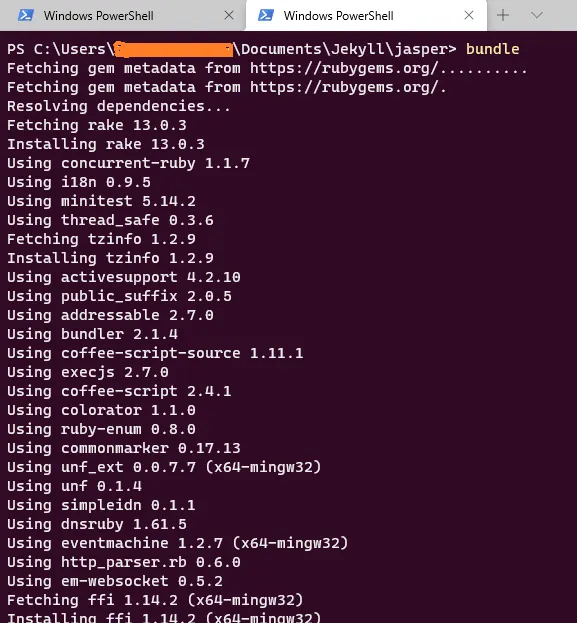
Based on the selected theme and plugins defined in the Gemfile, the above command downloads the dependencies, generates the folder structure, and locks the versions in Gemfile.lock.

In the future, if you want to add more plugins to your site, simply add them to your Gemfile and run the bundle install command again.
Build and Serve the Site
Now, compile the markdown files and serve the site locally:
bundle exec jekyll build
bundle exec jekyll serve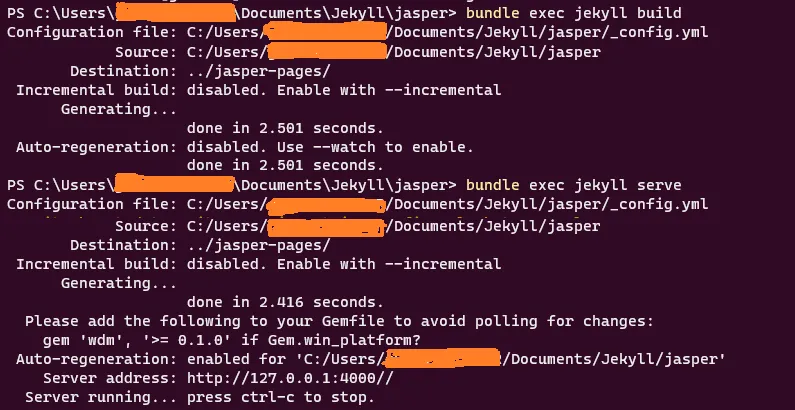
After running bundle exec jekyll build, a _site folder will be created in your theme directory. All the generated HTML, CSS, and JS files live inside this _site folder.
We can use the contents of the _site folder to upload to any static site hosting provider (like GitHub Pages or Netlify).
In an upcoming post, I will show you how to host this locally developed Jekyll site using Caddy—a powerful, enterprise-ready, open-source web server with automatic HTTPS written in Go.

Access the Jekyll Site
Open your favorite web browser and navigate to http://localhost:4000. You will be greeted with your new Jasper Theme-based Jekyll site!

I hope you enjoyed this tutorial! Please share your thoughts or feedback in the comments below. It helps me bring more open-source self-hosting articles to the blog.
Stay tuned for more deployment guides in upcoming posts!

Continue reading

How to Setup Hugo 0.8.0 Extended Dev Environment on Windows 10
Hugo is a static site generator written in Go. With its amazing speed and flexibility, Hugo makes building websites fun and incredibly fast.

How to Deploy Jekyll 4.2.0 in Docker Swarm Behind Traefik v2.0
Jekyll is a highly customizable static site generator. Transform plain text written in your favorite markup language into beautiful, static websites.

How to Deploy Flarum 1.8.1 - Open Source Forum in Docker Swarm Behind Traefik v2.0
Flarum is the next-generation forum software that makes online discussion fun. It is delightfully simple, lightning-fast, and highly extensible.