How to Deploy Highly Available WordPress in Docker Swarm Behind Traefik v2.0
WordPress is a powerful Content Management System (CMS) based on PHP and MySQL. Learn how to deploy a highly available instance in a Docker Swarm cluster using Traefik.

WordPress is a Content Management System (CMS) based on PHP and MySQL. It powers more than 60 million websites, including over a third of the top 10 million websites on the internet.
In this post, I am going to show you how to deploy a highly available WordPress instance in our Docker Swarm Cluster using Docker Compose.
Previously, I deployed a Docker Swarm Cluster on an Azure VPS running Ubuntu 18.04 with GlusterFS for persistent storage. Following that, I installed Traefik with Let’s Encrypt (for automatic SSL certificates) to act as a reverse proxy and load balancer. I also deployed a MariaDB database server and Adminer (a web-based database management tool) to handle our application databases.
Moving forward, I will be deploying various applications into this Docker Swarm Cluster to demonstrate how to leverage persistent storage and dynamic routing.
This blog (TUNEIT) is a real-world example of WordPress deployed in Docker Swarm with GlusterFS Replicated Volumes as backend storage. I am proud to host my blog using the exact toolstack detailed in these tutorials.
Prerequisites
Please ensure you fulfill the following requirements before proceeding with the deployment:
- A Docker Swarm Cluster configured with GlusterFS for persistent storage.
- Traefik v2.0 deployed as the ingress reverse proxy to expose microservices externally.
- A running MariaDB database stack to host the application database.
Introduction to WordPress
WordPress is open-source software you can use to create a beautiful website, blog, or app. Features include a highly extensible plugin architecture and a robust template system known as Themes.
While originally associated with blogging, WordPress has evolved to support traditional mailing lists, forums, media galleries, membership sites, learning management systems (LMS), and e-commerce stores.
WordPress Features
WordPress combines simplicity for users and publishers with under-the-hood complexity for developers. This makes it incredibly flexible while remaining easy to use.
There are thousands of plugins that extend what WordPress does, meaning its actual functionality is nearly limitless.
We are free to use WordPress code, extend it, modify it in any way, or use it for commercial projects without paying licensing fees. That’s the beauty of free software—it refers not only to price but also to the freedom to have complete control over your platform.
Here are some of the features you will love:
- Unmatched Flexibility
- Simplicity and Ease of Use
- Responsive out-of-the-box Design
- High Performance when optimized
- Manage on the Go via mobile apps
- High Security with active community patching
Persisting WordPress Data with GlusterFS
Containers are fast to deploy and make efficient use of system resources. However, their filesystems are ephemeral. If a container restarts, local data is lost.
To ensure our media uploads, themes, and plugins survive restarts, we will use GlusterFS. I previously set up a replicated GlusterFS volume to ensure data is mirrored across all nodes in the cluster.
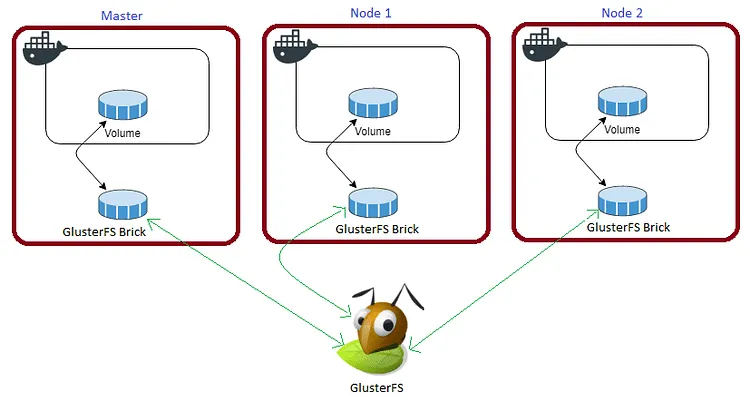
The volume is mounted across all nodes. When data is written to the
/mntpartition, it is instantly replicated to the other nodes in the cluster.
If any node fails, the application automatically restarts on another node without losing data.
For WordPress, we need to map the container’s /var/www/html/wp-content directory to our persistent storage.
Create a folder named wordpressdata in the /mnt directory:
cd /mnt
sudo mkdir -p wordpressdata
Watch the video below for a complete guide on setting up a GlusterFS Replicated Volume.
Prepare the Deployment Environment
We will use Docker Compose to define our deployment environment.
Navigate to the /opt directory on your Swarm manager node and create the configuration directory for WordPress:
cd /opt
sudo mkdir -p wordpress
cd wordpress
sudo touch wordpress.yml
WordPress Docker Compose Configuration
Open wordpress.yml using your editor:
sudo nano wordpress.ymlPaste the following Docker Compose configuration. We are connecting this service to the MariaDB instance (testdb) deployed previously.
version: "3.7"

services:
  wordpress:
    image: wordpress:latest
    depends_on:
      - testdb # Database deployed via MariaDB stack
    volumes:
      - /mnt/wordpressdata:/var/www/html/wp-content
    secrets:
      - wp_db_password
    environment:
      - WORDPRESS_DB_HOST=testdb:3306
      - WORDPRESS_DB_USER=root
      - WORDPRESS_DB_NAME=wordpressdb
      - WORDPRESS_DB_PASSWORD_FILE=/run/secrets/wp_db_password
    networks:
      - proxy
    deploy:
      placement:
        constraints: [node.role == worker]
      replicas: 1
      update_config:
        parallelism: 2
        delay: 10s
      restart_policy:
        condition: on-failure
      labels:
        - "traefik.enable=true"
        - "traefik.docker.network=proxy"
        - "traefik.http.routers.wordpress.rule=Host(`example.com`)"
        - "traefik.http.routers.wordpress.tls=true"
        - "traefik.http.routers.wordpress.tls.certresolver=default"
        - "traefik.http.routers.wordpress.entrypoints=websecure"
        - "traefik.http.services.wordpress.loadbalancer.server.port=80"

secrets:
  wp_db_password:
    external: true

volumes:
  wordpressdata:
    driver: "local"

networks:
  proxy:
    external: true
Watch the video below to see a walkthrough of deploying WordPress behind Traefik v2.0.
I attached this service to the
proxyDocker overlay network so it can be routed securely by the Traefik load balancer.
Deploy WordPress to Docker Swarm
Deploy the stack to your Swarm using the following command:
docker stack deploy --compose-file wordpress.yml wpIn Docker Swarm, whatever you deploy via compose is called a “stack,” and it contains multiple “services” as defined in your file.
Check the status of the deployment to ensure it schedules properly on a worker node:
docker stack ps wp
Check the container logs to monitor the initialization process:
docker service logs wp_wordpress
Access and Install WordPress
Open your browser and navigate to http://example.com. Traefik will automatically redirect you to https://example.com/wp-admin/install.php (ensure you replace example.com with your actual domain).
Ensure you have configured a DNS A-Record or CNAME pointing example.com to your Swarm ingress load balancer.
Reference Images from the Deployment:
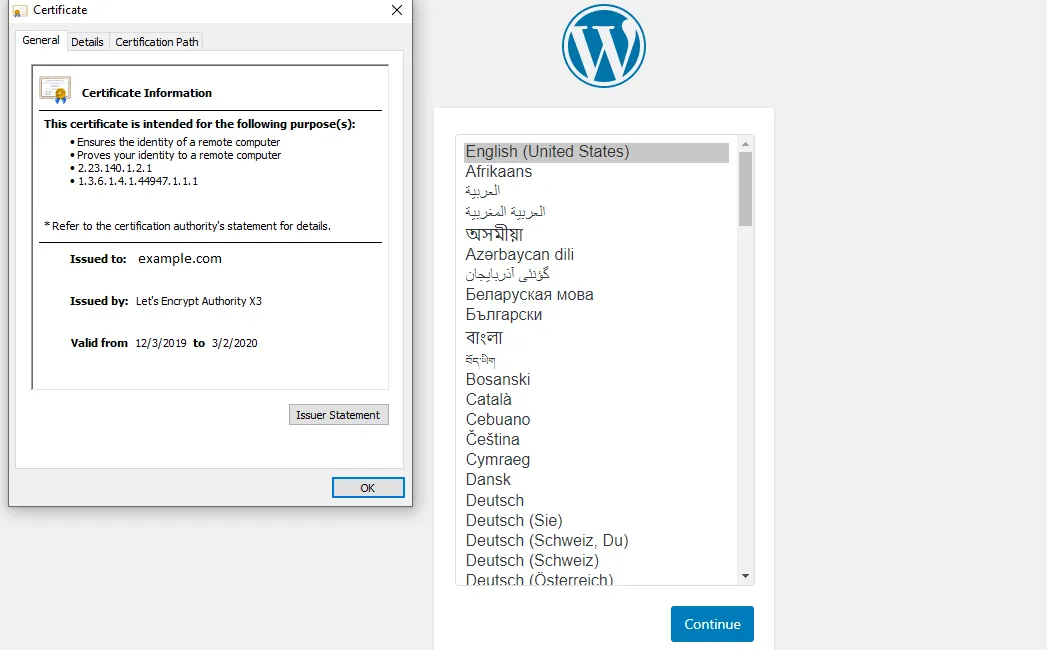
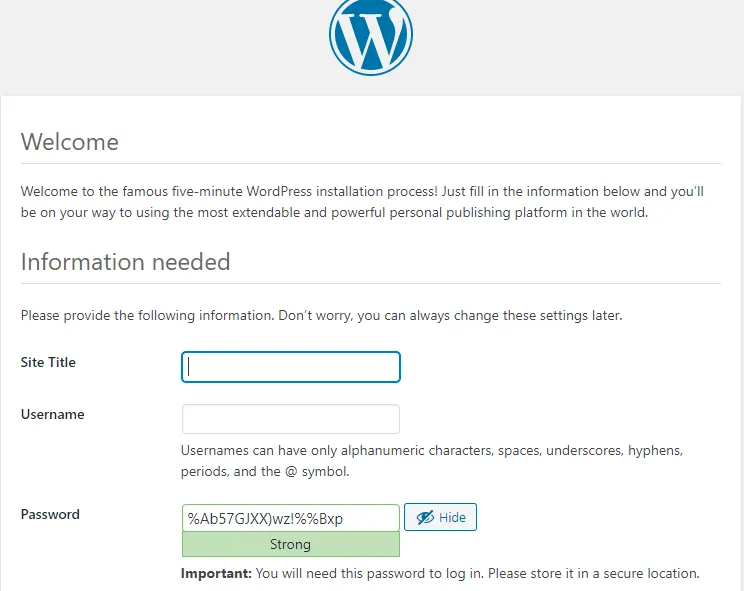
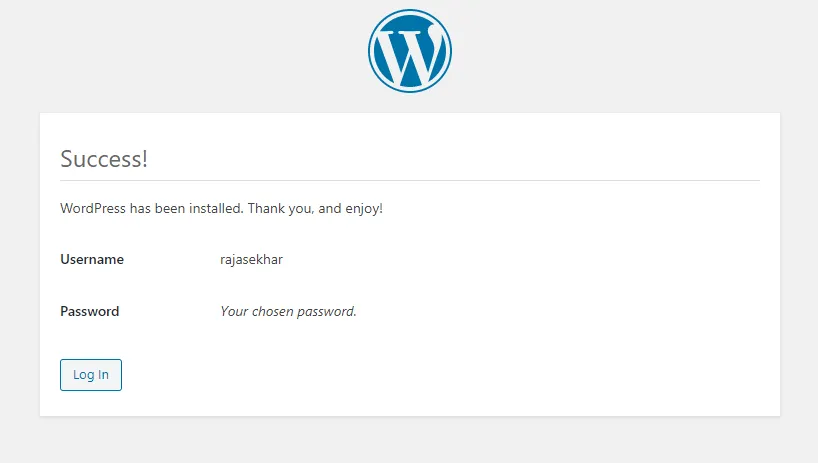
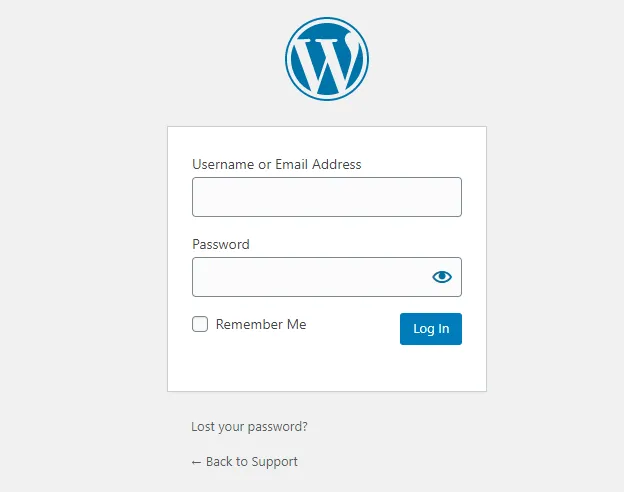
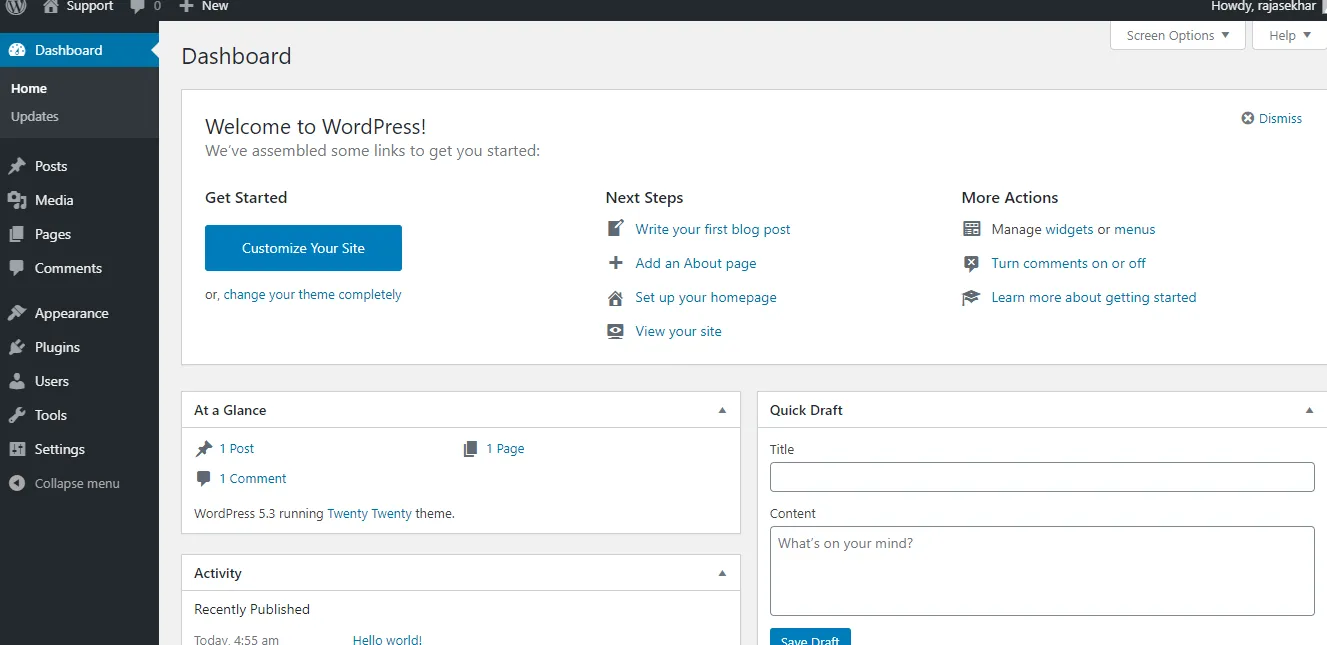
We have successfully set up a highly available WordPress instance in our Docker Swarm! You can now log in, install themes, and modify the look and feel exactly how you want it.
Stay tuned for more application deployments in our Docker Swarm Cluster. Let me know your feedback or thoughts by commenting below!

Continue reading

How to Deploy Flarum 1.8.1 - Open Source Forum in Docker Swarm Behind Traefik v2.0
Flarum is the next-generation forum software that makes online discussion fun. It is delightfully simple, lightning-fast, and highly extensible.
How to Deploy Highly Available WordPress in Docker Swarm Behind Caddy v2.3
Caddy's reverse_proxy is capable of serving any FastCGI application, making it perfectly suited for deploying highly available WordPress using PHP-FPM.

How to Setup Docker Swarm Cluster on Ubuntu 18.04 in Azure VPS
Docker Swarm is native clustering for Docker. It turns a pool of Docker hosts into a single, virtual host. Learn how to deploy a resilient cluster using GlusterFS for storage.